

4 Ways Boris FX Optics can bring your cosplay photos to life
A lot of creatives are heading back to conventions like Comic-Con this summer, so there’s no better time than now to mention that the Wacom Intuos comes with a full-year free trial of Boris FX Optics.
Boris is best known for a suite of video effects programs that helped make films like Infinity War, Avatar, Interstellar, and similar blockbusters. Boris FX Optics adapts their tools to still photography, letting you make fire, fog, lightning, explosions, and a host of other effects you’d normally need stock images for, in either a standalone program or as a Photoshop plugin.
From the time I first heard about it, I was struck by how particularly useful it sounded for cosplay photography: if making fire with a click of a button sounds like magic, that’s because spell-crafting is one of Boris’ specialties – along with the rest of the lighting, background replacement, and color grading it takes to give a cosplay shoot next-level production values.
Imagine a program made entirely of Photoshop’s adjustment layers: Create one, click an effect to add it, tweak its settings, repeat until you have a composite effect, then save and export. That’s all there is to using Optics, really. It’s as user-friendly as effects programs get, perfect for those new to photo manipulation.
But that simple framework unfolds to reveal massive complexity: its 160 tools come with a combined 1,700 presets, and most have long menus that let you tune every property.
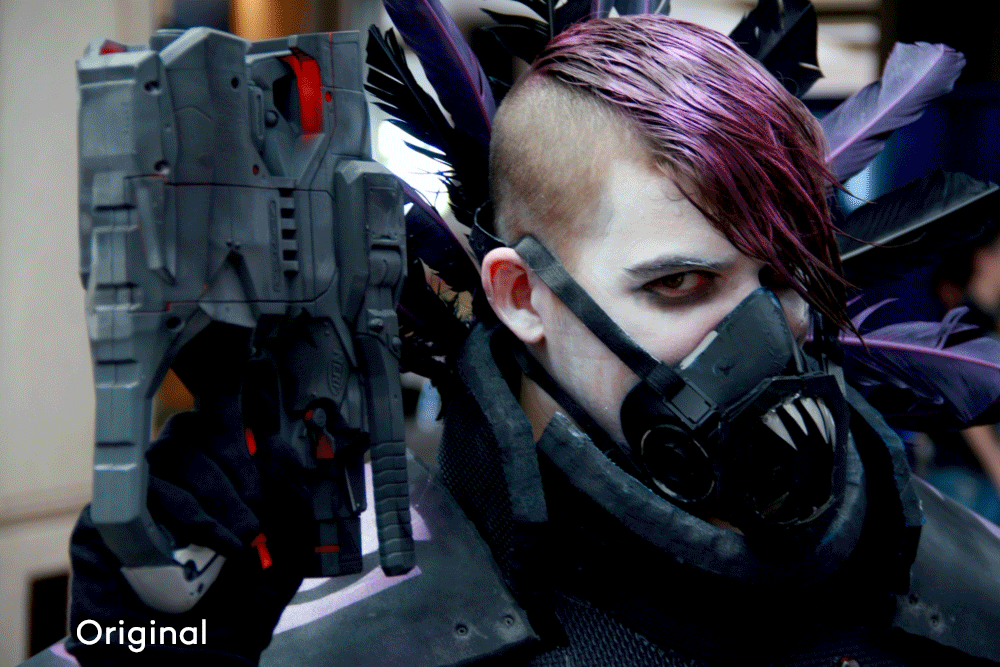
Unfortunately, it’s been years since I’ve shot photos at a con, but I had to pull out some of my old cosplay photos to try it myself. Here are just a few examples, grouped by what cosplay photographers can use them for:
1. Change backgrounds in a flash
Although Boris FX Optics is known for visual effects, the Photoshop plugin also comes with a smart masking tool that can cut subjects out of backgrounds in a sliver of the time it takes manually.
If you can get shots with decent color separation between your subject and background, you can take them straight from the con to wherever you want — without having to worry about masking out each spike of hair.

2. Correct colors with a click
Color palettes are integral to a franchise’s look, and Boris FX Optics has done a great job emulating a lot of famous ones — some were created with Boris software, after all.
The Color, Film Lab, and Grads/Tints tabs come with more grading presets than you can imagine, including a series based on actual movies: “Back to the Future” and “Stranger Things” will wash your image out in blue, “The Matrix” will tinge it green, and “The Walking Dead,” will apply a yellow tint. A personal favorite is “Children of Men,” which will desaturate it to an apocalyptic gray.
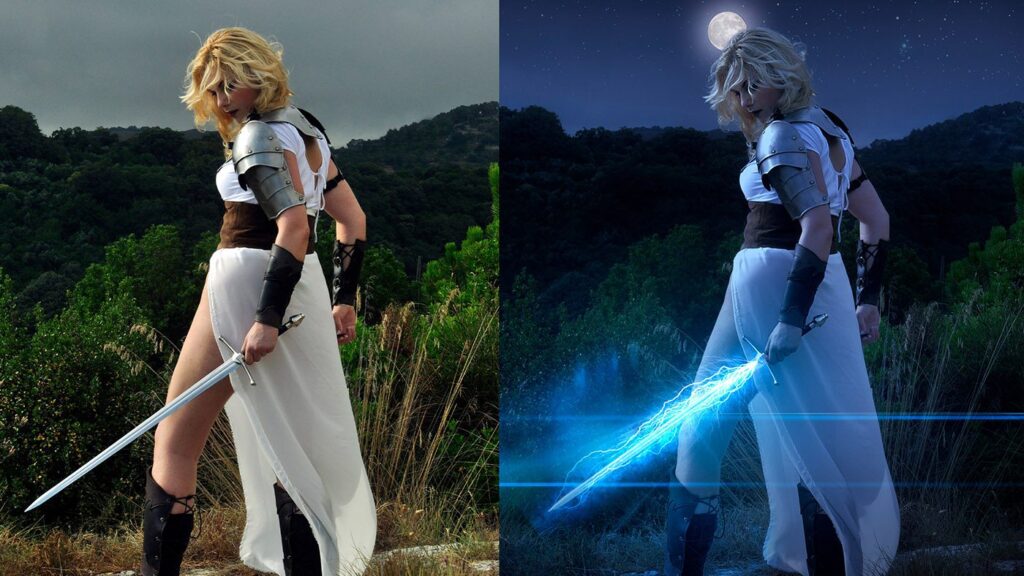
3. Work Magic
Optics 2022’s new killer feature is the Particle Illusion Library, a collection of over 70 effects ported over from Boris’s video programs. Entire animations are replicated, so you can advance through them frame-by-frame and select which stage of them you think fits best.
The glow effects automatically light the rest of your photo, or you can use smart masking to constrain them to the parts you want lit. And of special note to cosplayers: it has a whole subsection of anime effects!

4. Match the show’s style
Finally, after you’ve placed the character in their setting, matched them to the show’s color profile, and given them canonically-accurate powers, time to apply the final production tricks to push it over the top.
The Lighting tab contains smart lighting effects as well as sun ray generators, glints, sparkles, and dozens of lens flares in more sizes and colors than you’d think possible. These are lowkey some of the program’s most impressive tools: they genuinely map the light to the contours of your image, not just add a light-colored overlay to it like other programs’ filters, with very professional results.
Scattered across the panels, you’ll find miscellaneous other effects for various post-prod duties, like PI HUD-GUI, a selection of sci-fi interface graphics, and S_TVDamage and DigitalDamage, the rare genuinely good glitch effects. And Beauty Studio in the Diffusion tab has your quick skin-healing needs covered.
Conclusion
With Optics, Boris FX has done a lot to make their toolset available to laypeople without studio budgets.
The one-year trial that comes with every Wacom Intuos tablet is enough to build a substantial cosplay photography portfolio on its own, but at just $10 a month (or $150 for a perpetual license) afterward, it won’t be too expensive to keep enhancing your photos for good.
And for all it can do, it’s surprisingly lightweight. The download was huge, but once installed, it ran comfortably with other programs open on a relatively low-spec laptop, lagging only on complex particle effects. So if you have one of those, you can easily take it to the next con you attend and edit the day’s photos from your hotel room that night — which I can attest is the best way to get the jump on uploading them to social media before the event’s over.
For a more dynamic demonstration of these tools, you can watch Boris’s official tutorial on enhancing cosplay photos at the video below.


